
When I shared the full tour of our office/ lounge space, the most popular questions all pointed to the tv wall we created that provides lots of storage for our homeschool needs. Like I mentioned in our office reveal post, this unit houses all our video games, homeschool stuff, crafts and office necessities. Without this unit, this room would be chaos right now and this school year would start off with one big mess! If you’re here looking for a good storage solution that can be modified to your specific needs, this one is a great choice.

We already used the Ikea Besta system and loved it! I actually first shared about it with a review here in 2015. Here’s a pic below from our first Christmas here of what we already had before we modified it and added to it for more storage.
(This post may contain affiliate links.)
 When I was scheming on what we would use for storage in the office, I really wanted to stick with the Besta system since we already owned this and I knew we could just add to it. The cool thing about the Besta system is you can customize it to your liking.

With the current unit here in our office, we decided to keep the base which is 2 of these Besta frames in white pushed together and joined by screws. We removed the legs and they are now sitting on 2×4’s and framed out with 2 inch trim. We also switched out the doors for the Lappviken door because I wanted it to look clean and simple and these doors are just that!

We repeated this same unit on the top row up above. Same 2 Besta frames, same doors, but this time, these were all mounted to the wall. The cool thing about the Besta system is they all have the option to sit on the floor or the ability to be mounted. Just make sure you mount the unit on studs!

Finally, we added another row right below that using these 2 Besta frames, which just like the other frames, we joined together with screws, and combined with the row above with clamps that were provided with the frames. On top of that, we also added some strong adhesive strips to give it extra support.


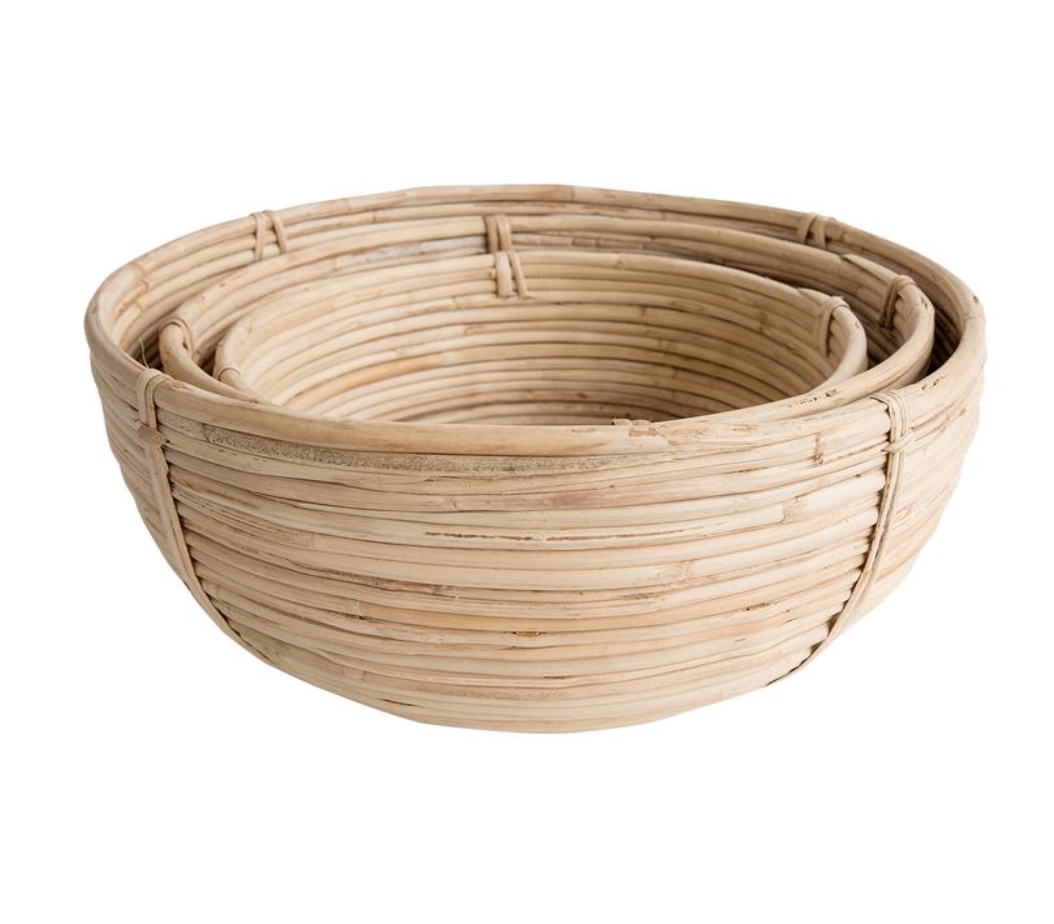
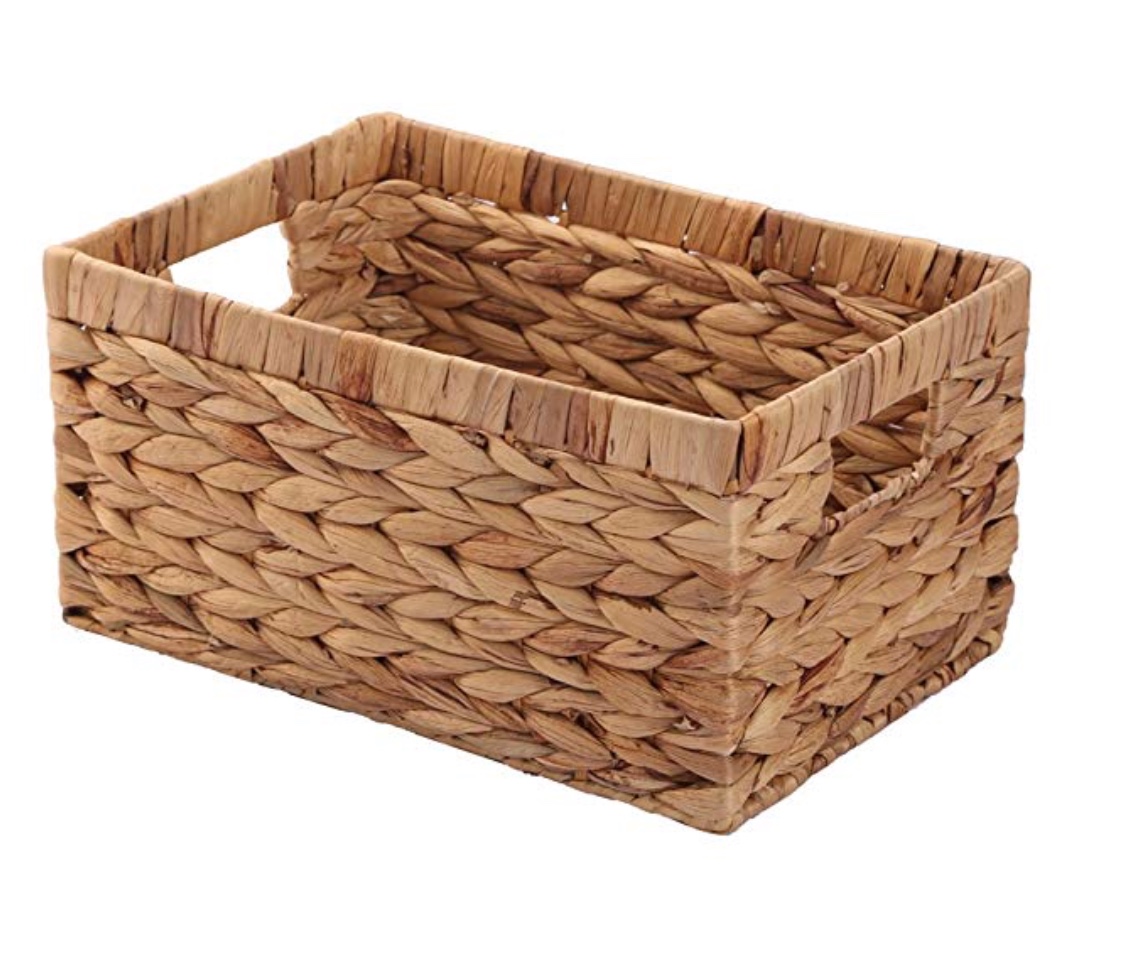
This time, we left them without doors because I felt it would look more top heavy if they were all enclosed. Plus the open shelves give us the option to style them and add baskets for some texture but also to house things we need hidden with easy access to. Currently, one basket is holding the gaming controllers and the other basket is holding lots of card games and a few board games we have been playing regularly recently.
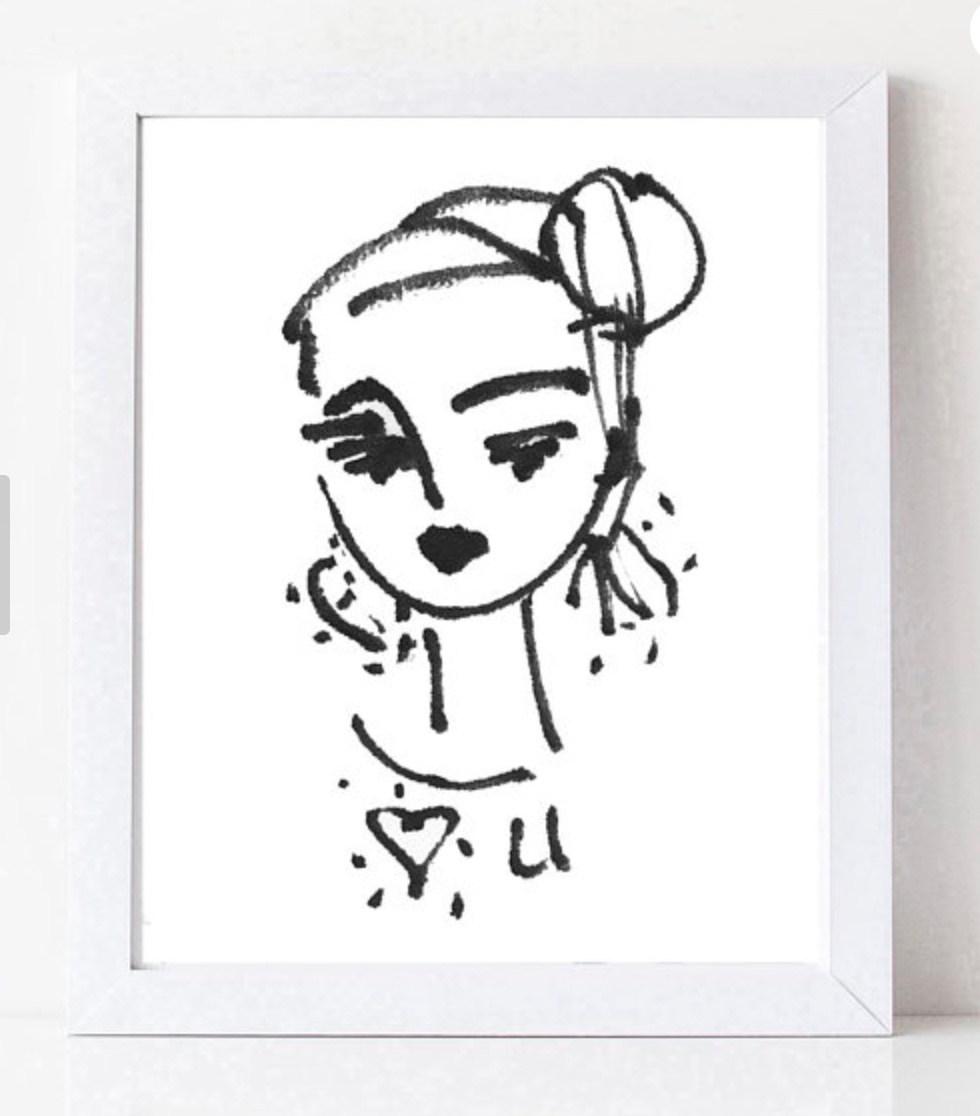
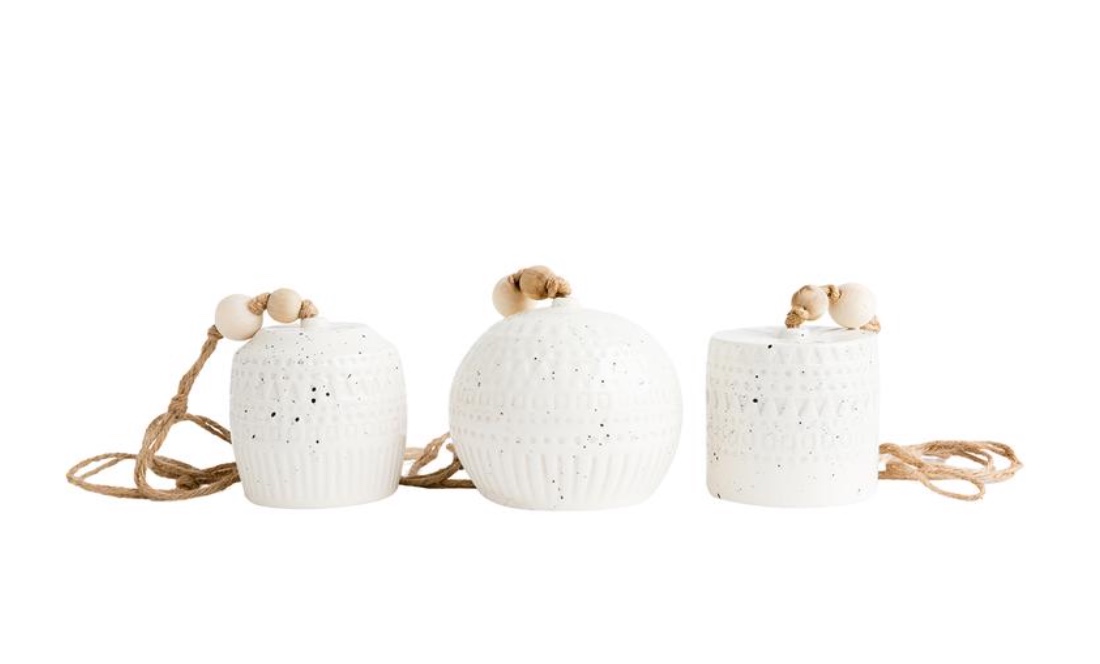
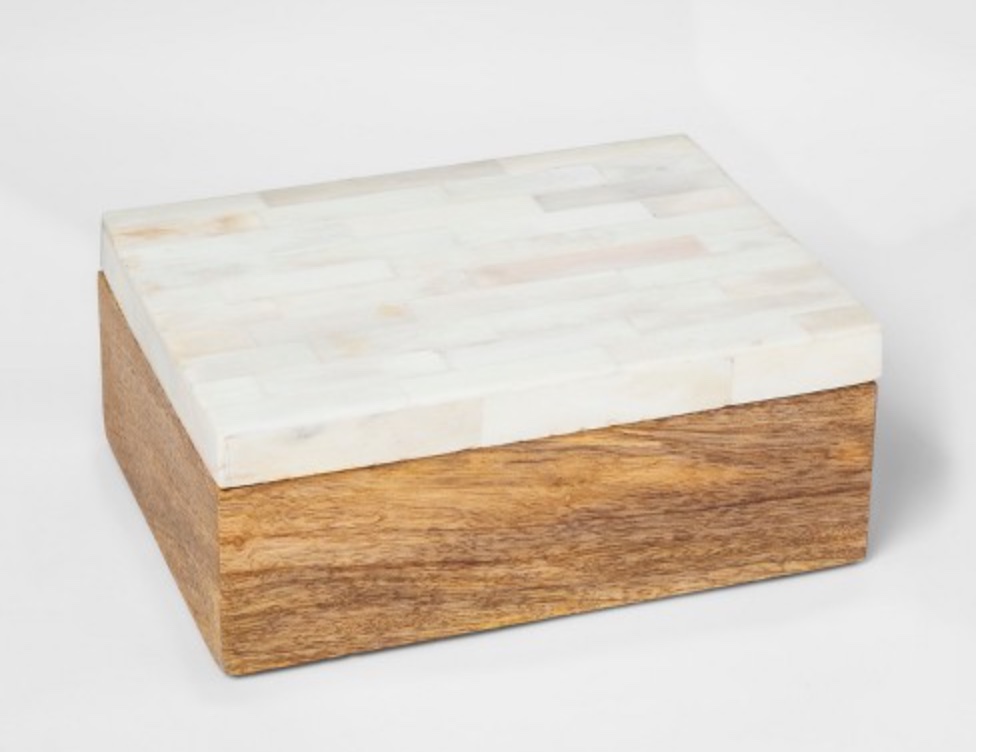
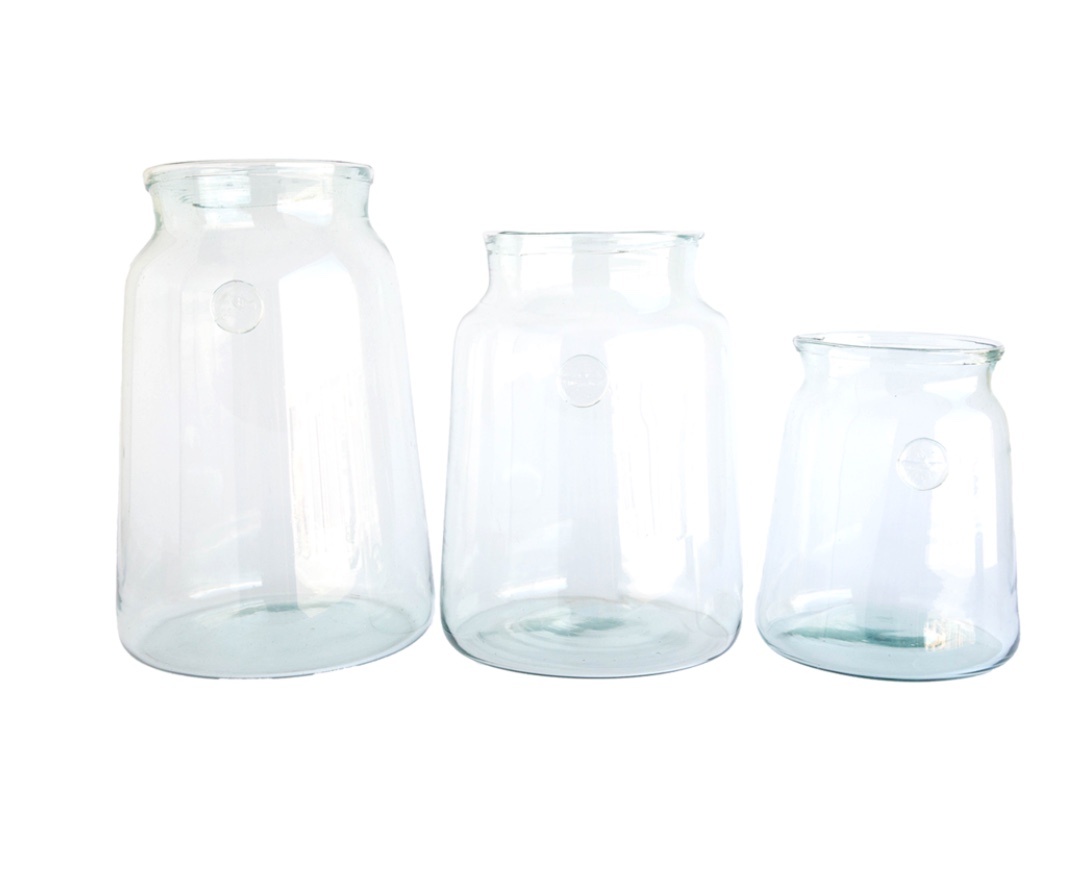
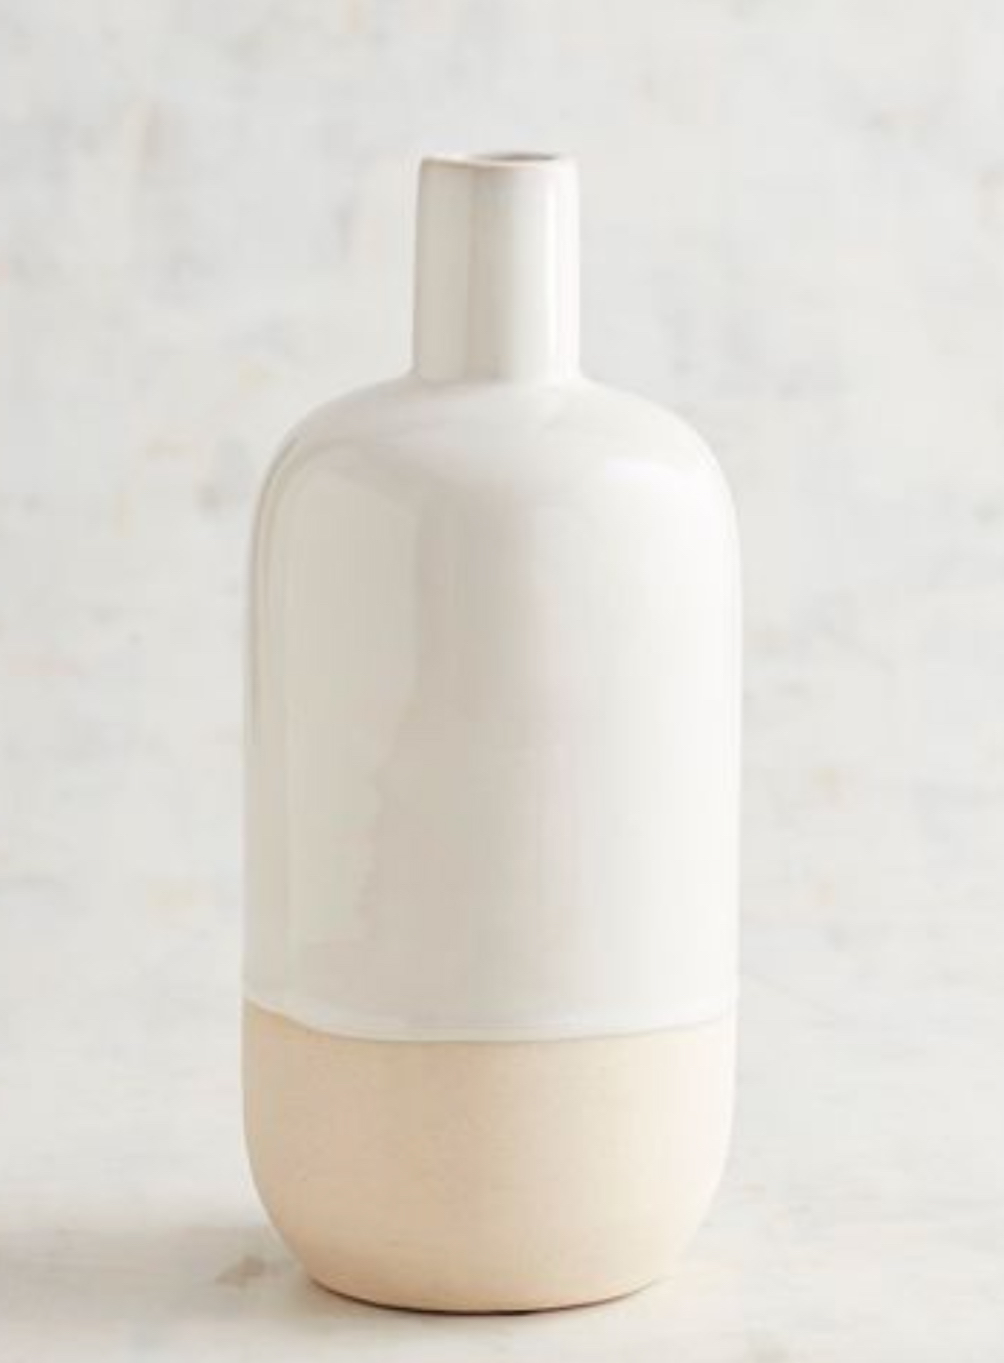
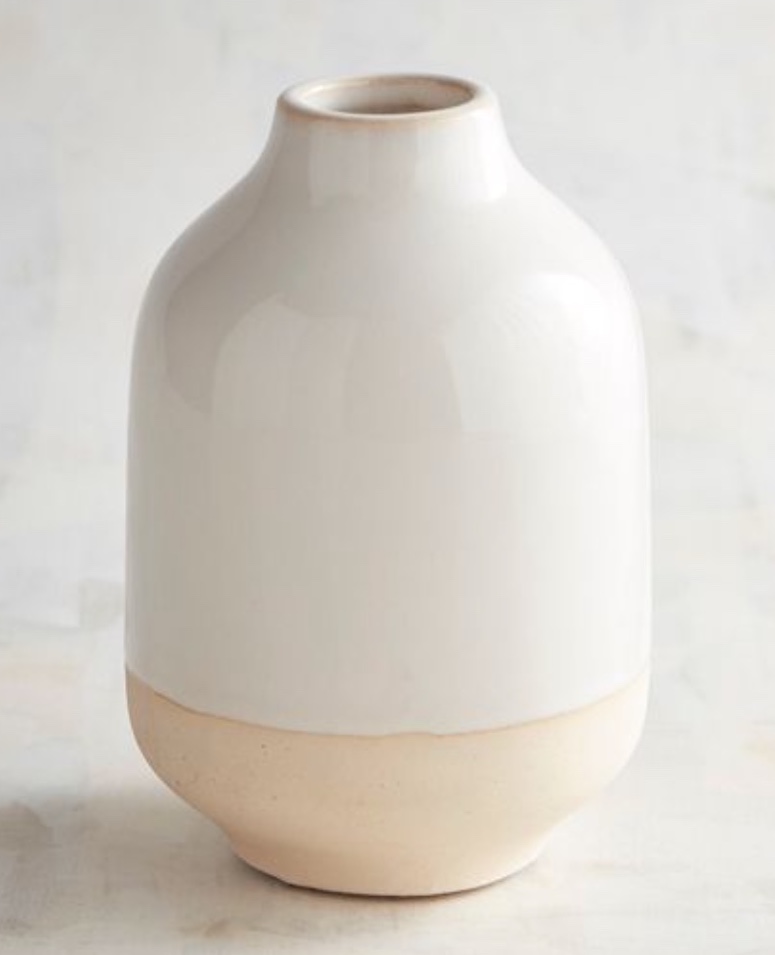
Shop our tv wall Decor:

Here are some tips before making a purchase on your own Ikea Besta unit:
– Figure out how much space you’re working with and check the measurements; be sure to pick the right pieces to fit the wall properly.
- What’s the overall style of the room this unit is going in? There are multiple door styles and color options and even legs and knobs you can add depending on what style you are going for. I would look up “Ikea Besta” on pinterest to get some ideas of what look you like. While you’re there, come follow me on pinterest where I love pinning all things home and style! I love pinning design inspiration, organization, style and more!
-
Know what you are needing from this unit. If you need everything to be easily accessible, it might not be ideal to have the unit mounted too high, if at all. The only way I can reach the top row is with a stool which can be inconvenient but works for us, because everything in that top row are items I don’t reach for regularly. If you need as much storage as possible, you might decide to do one solid unit of all enclosed storage instead of how I created space for our tv.
-
Get organized before you even make a purchase! I drew mine out and labeled where everything would go and made sure where I put things would make sense. Like I already mentioned, all the things I don’t reach for often is all at the top!
There are so many ways to configure the Besta system to create a unit that works for your home and after having ours this way for about 3 and a half months now, this configuration has been perfect for our needs! I’m really looking forward to starting this school year and really putting all this storage and space to work! Speaking of the new school year, we have transformed the space to work as a homeschool space with the ability to switch back to this whenever we go on breaks. I’ll be sharing more on that so stay tuned!

I hope this post was helpful and answered your questions. If you still have more questions about them, ask away below, and I will answer them right here! Thanks so much for stopping by!!

Emily
March 18, 2019Do you have any info on how you framed out the bottom? Would love to replicate the look. Thanks!
Lynda Ellis
October 3, 2019Emily did you find out how they framed the bottom on unit? I’m interested too.
Tom
August 17, 2020Wow this looks so neat, definitely makes me want to give the Besta a try. I’m not very good at decorating my place so I could sure use some pointers on that too.